Any cooking equipment you buy tries its best to make your life easier. No matter how good they work today, there comes a time when they need your care. One such piece of equipment is your oven. And you will likely face issues with your oven heating element. So, it’s crucial to know the signs of problems and how to replace your oven’s heating element.
What is an Oven Heating Element?
The other name for your oven’s heating element is the baking coil. This heating element remains attached behind your oven’s back wall. You can find this back wall at the bottom of the oven. You will also see a broiling element on top. This heating element uses the Joule heating process to convert electrical energy into heat energy. And this heat helps in baking or cooking meals inside your oven.
How Will You Know If the Heating Element Needs Repair?
Here are some signs that indicate your oven heating element needs repair:
No Bright Orange Glow- As your oven’s heating element fully heats at 350 degrees, you will spot a bright orange glow. If you don’t see this glow, that indicates something is wrong and that you should call professionals for repair.
Issues with Food Quality- As the heating element doesn’t turn bright orange, it leads to unsatisfactory food quality. And that is another reason why you should go for a timely repair.
Appearance of Cracks- Do you spot cracks and blisters in your oven? That’s usually common with well-used ovens. And again, it increases the need for repair and removal of the heating element for inspection.
Cooking Issues- Uncooked food clearly shows that your oven’s heating element needs repair.
What are the Steps to Repair the Oven Heating Element?
- The repair process begins with a careful physical inspection of the oven’s heating element.
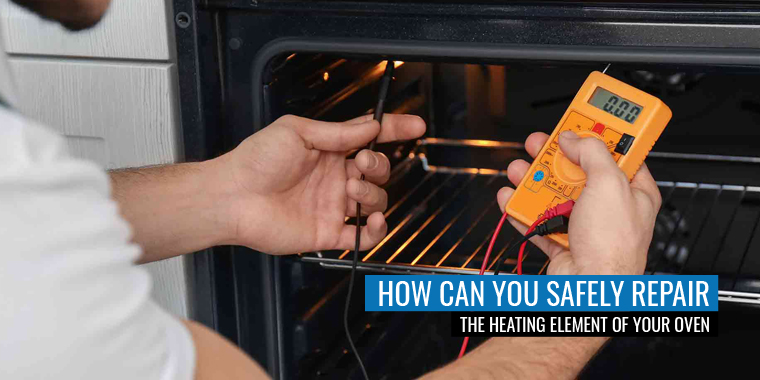
- A multimeter helps to check the functionality of this heating element even if nothing seems wrong with it.
- It’s important to take care of your safety before the inspection begins. So, be sure to unplug the oven from the power source.
- Carefully look for signs of damage like loose wires and observe the heating element’s wirings and terminals.
- Begin inspection with wiring and elements after detaching your oven’s back panel.
- You will have to test for continuity if you don’t find any damage to the heating element.
- Now, carefully remove the oven’s heating element and then turn the multimeter setting to RX1.
- Next, you have to connect this multimeter to the terminals of the heating element.
- A normal reading would range between 19 and 115 ohms. You can learn about the specifics from the manual.
- If the resistance of the element stays off, you should replace the oven’s heating element.
Why It’s Better to Take Help from the Professionals?
Although you may opt for DIY inspections, it’s always better to consult professionals who have expertise in oven or stove repair. These professionals can identify the problems faster and take care of the safety precautions. Furthermore, they come with the latest tools and quality assurance to give you peace of mind.